
How to Floss Back Teeth and Molars

Flossing your front teeth is easy, but when it comes to the back teeth and molars, things get tricky. These hard-to-reach areas are also where food particles and bacteria love to hide, making them the most common spots for cavities and gum disease.
If you’ve ever wondered “How do I floss my back teeth properly?” or “What’s the best way to floss molars?”, this guide will walk you through the right techniques, tools, and dentist-approved tips. Flossing correctly makes a huge difference in oral health. If you’re unsure whether to floss first or last, check Should You Floss Before or After Brushing?. For balance, read Can You Floss Too Much?, or if you have gum issues, see How Many Times a Day Should You Floss with Gingivitis. For complete professional guidance, explore the Dentist’s Guide to Flossing Teeth.
✅ Why Flossing Back Teeth Is So Important
Molars (your back teeth) are the most vulnerable to cavities and gum problems because:
-
They have deep grooves and pits where food gets stuck.
-
They’re harder to clean with a toothbrush.
-
People often skip or rush flossing in the back due to discomfort.
Dentists often see tooth decay and gum disease starting in these areas first. That’s why learning how to floss your back teeth correctly is critical for long-term oral health.
🧑⚕️ Step-by-Step: How to Floss Back Teeth and Molars
1. Use Enough Floss
Take about 18 inches of dental floss. Wrap most of it around your middle fingers, leaving 1–2 inches to work with.
2. Guide the Floss Gently
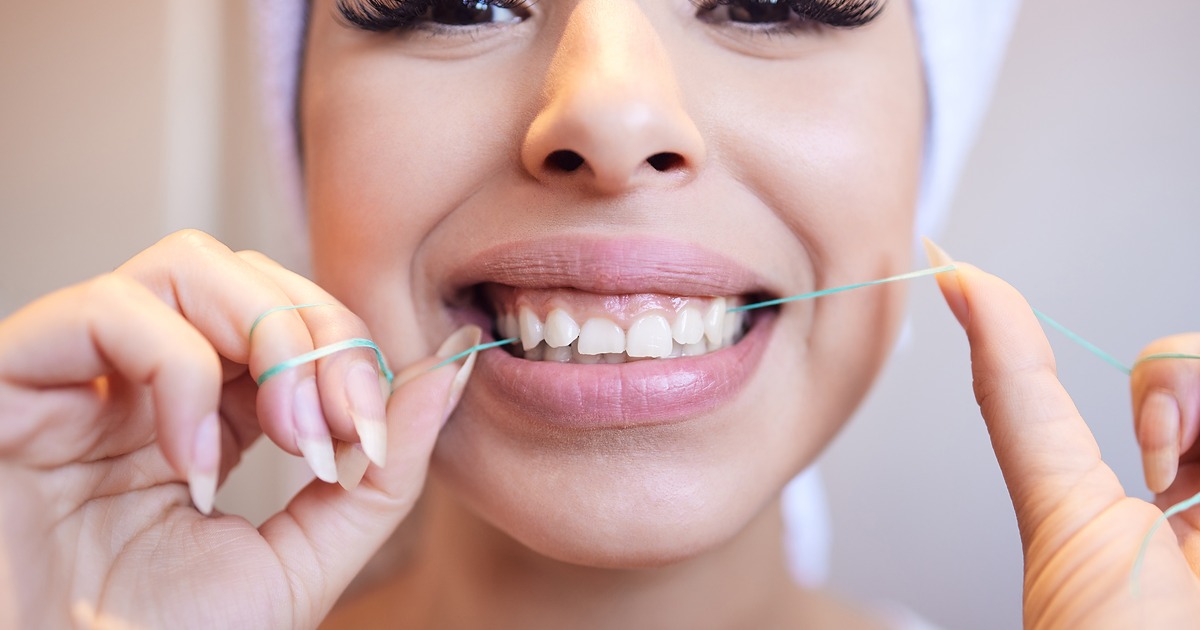
Hold the floss tight between your thumbs and index fingers. Slide it gently between your molars, using a sawing motion. Avoid snapping, which can hurt gums.
3. Curve Into a “C” Shape
Once between your back teeth, curve the floss into a C-shape against one tooth. Slide it up and down, reaching slightly under the gumline.
4. Repeat for Each Side
Don’t forget that each gap has two surfaces. Clean the side of one tooth, then curve the floss around the other tooth.
5. Use Fresh Sections of Floss
As you move to each back tooth, roll to a clean section of floss. This prevents spreading bacteria.
🪥 Dentist Tips for Flossing Molars Easier
-
Open wide and use a mirror → Helps guide floss to the back teeth.
-
Use waxed floss → Slides more easily between tight molars.
-
Try floss picks or holders → Easier to maneuver for back teeth.
-
Consider a water flosser → Uses water pressure to clean around molars and gumline, especially if you have braces or sensitive gums.
❌ Common Mistakes When Flossing Back Teeth
-
Snapping floss into gums → causes pain and bleeding.
-
Not going under the gumline → leaves plaque behind.
-
Skipping molars altogether → the biggest mistake!
-
Reusing dirty floss → spreads bacteria.
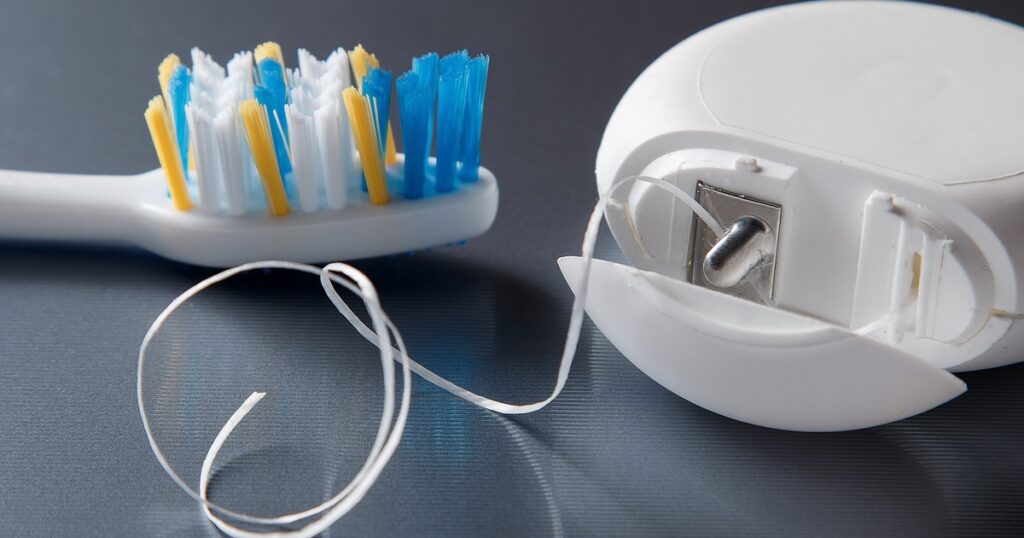
🔑 Best Tools for Flossing Molars
-
Traditional string floss → Best for a deep clean if you have good dexterity.
-
Floss picks → Convenient, especially for kids or people who struggle with back teeth.
-
Water flossers (like Waterpik) → Highly effective for molars and braces.
-
Interdental brushes → Great for cleaning larger gaps between molars.
🧠 FAQs
1. How do you floss back molars without hurting gums?
Be gentle. Slide floss slowly, curve it around each tooth, and avoid snapping.
2. Is it okay to use floss picks for back teeth?
Yes. They make reaching molars easier, though they may not clean as thoroughly as string floss.
3. Do I need to floss all my molars?
Yes. Every molar has two sides, so don’t skip the very back ones.
4. Can water flossers replace flossing for molars?
They’re very effective but dentists still recommend combining water flossers with traditional floss for best results.
📝 Final Takeaway
👉 Flossing back teeth and molars may be tricky, but it’s crucial for preventing cavities, gum disease, and bad breath. Use the C-shape technique, be gentle under the gumline, and consider tools like floss picks or water flossers if traditional floss is difficult.
Remember: your molars do most of the chewing, so they need the most care.